Installation of Li-ion battery - Nissan Leaf Pack - SX-LIMNNL
For NiMH to Li-ion conversion - refer to SX-CONV
For Li/Li+ oryginal GP battery replacement - refer to
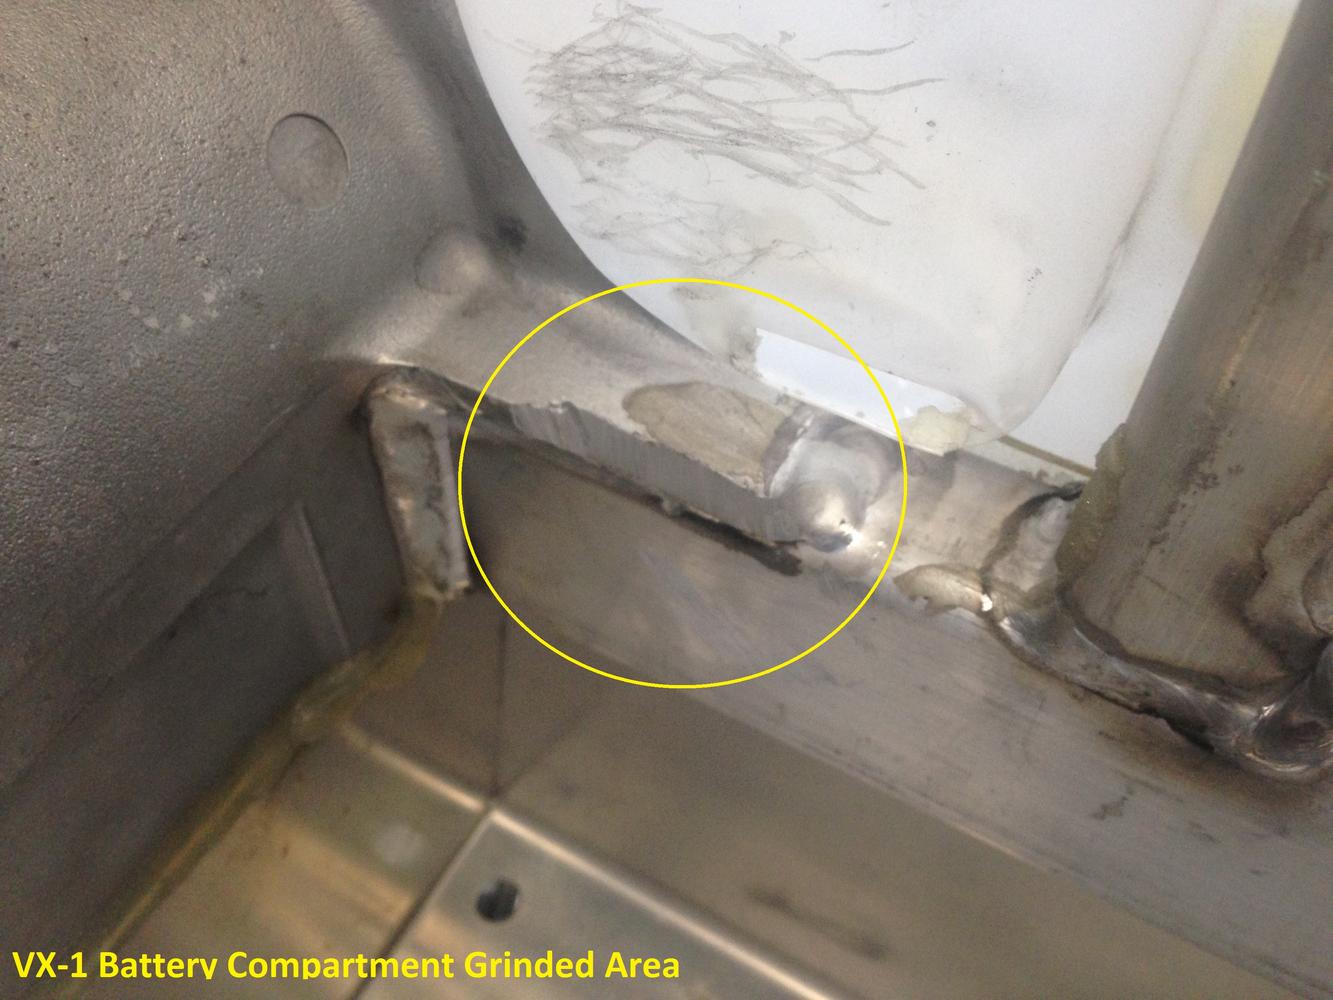
1. Some of the VX-1 requaires grinding a weld in battery compartment to accomodate new battery. After removing old battery cover the motocontroller using plastic foil and masking tape. Remove the excess of the weld by angle grinder to be flat with frame strud. When finish vacuum the battery compartment.
2. Replace positive power cable on motor controller with new (longer) cable. One side has M5 ring (this is for MC) another has M6 ring - this is for battery. Isolate the battery end of the cable with tape.
3. Install front pack in the vehicle (using lift tool). Push it forward to the end of compartment
4. Install rear pack in the vehicle.
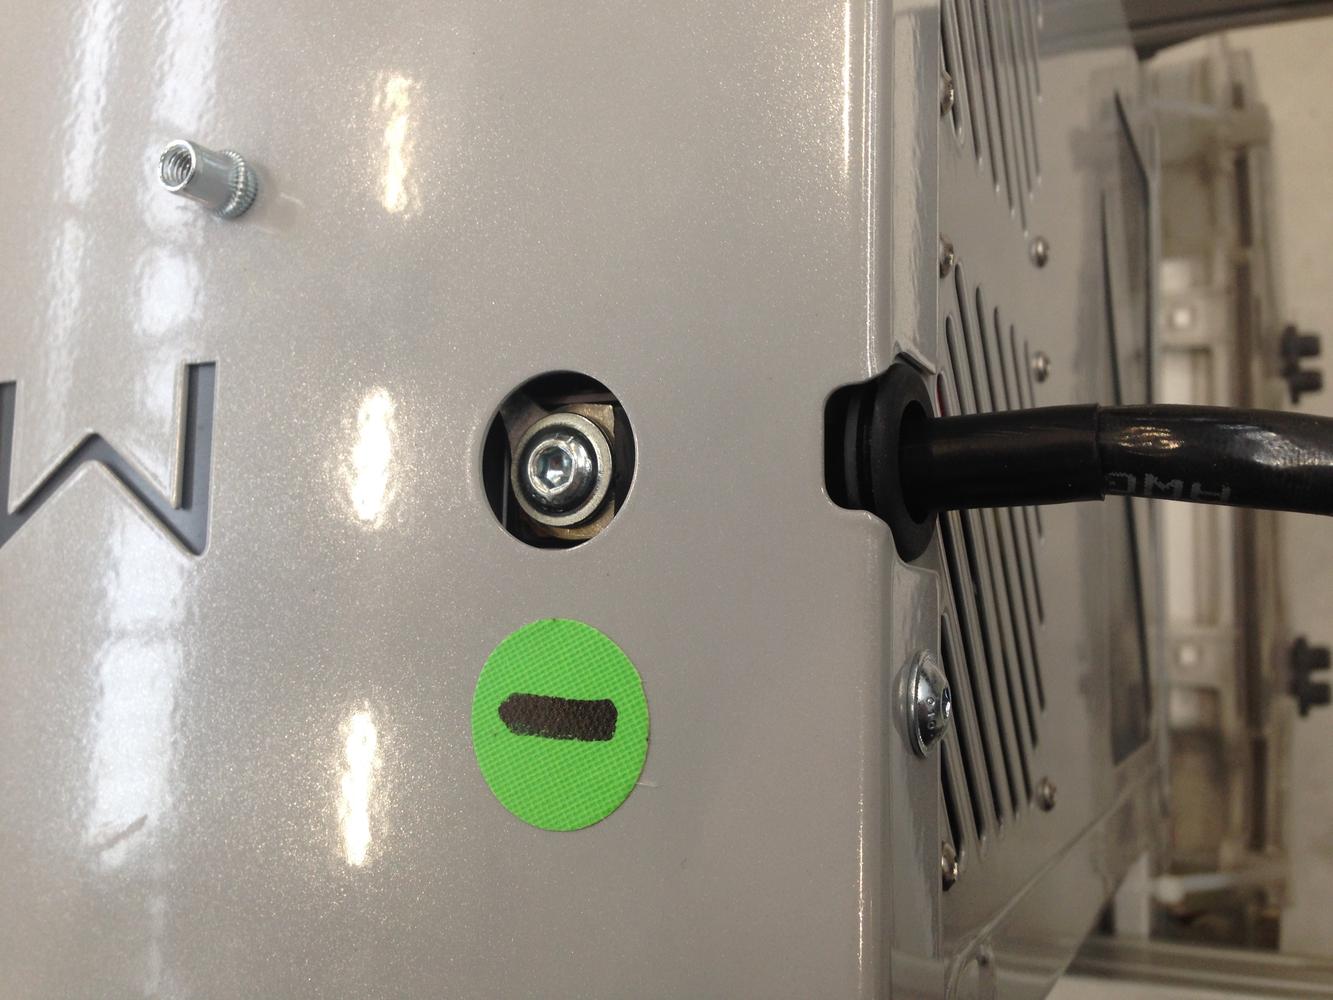
5. Connect negative power cable (oryginal) to the rear pack - pass it though the hole in the rear wall of the battery and secure with provided M6 bolt (make sure the ring of the battery harness is installed as well)
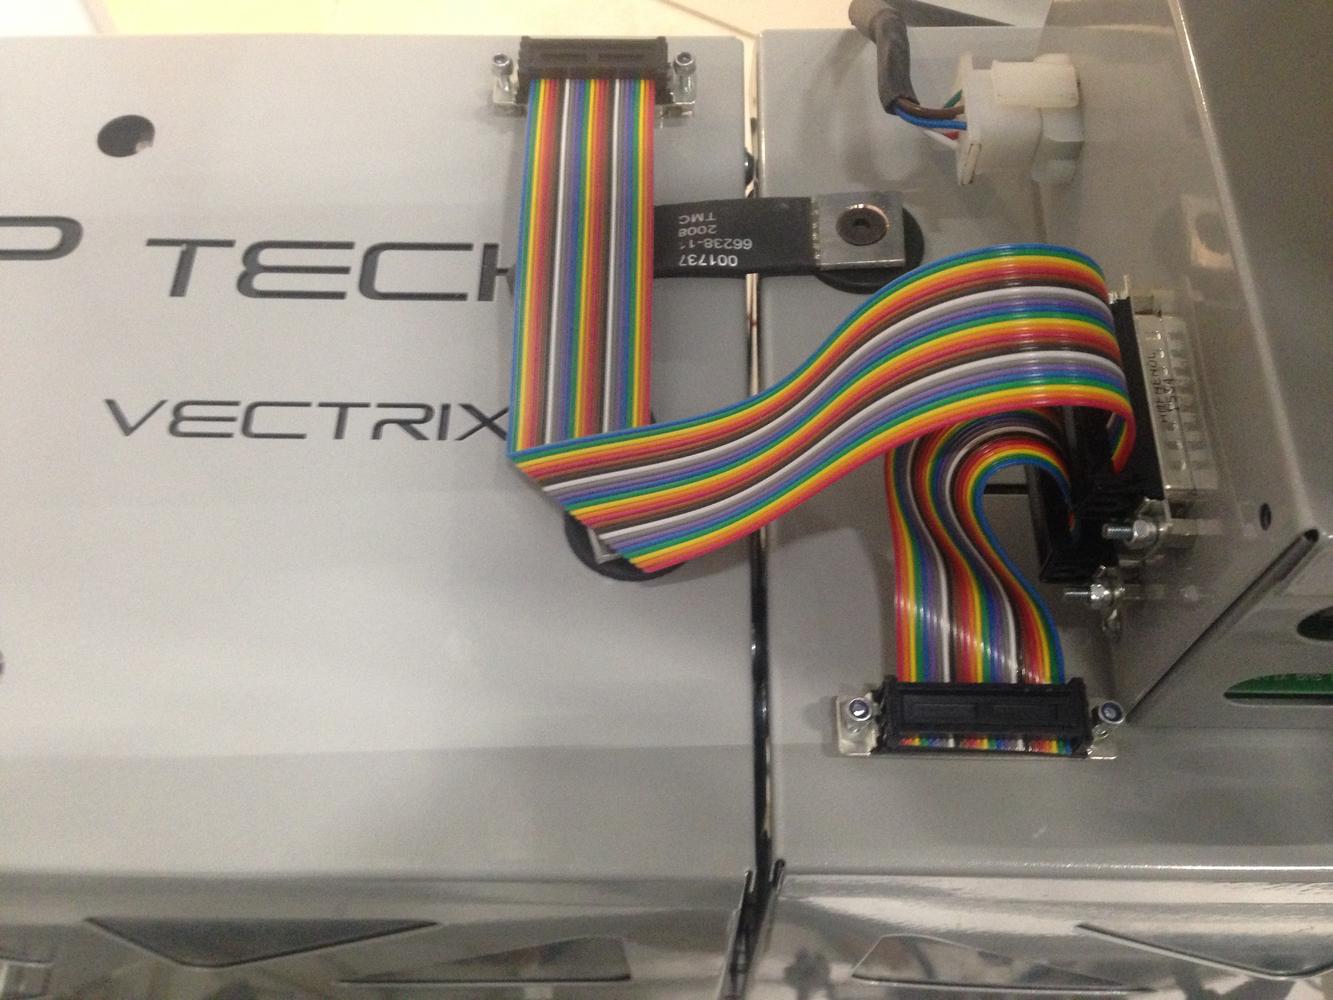
6. Install the flat cable between the battery pack front and rear using supplied M6 bolts with conical head
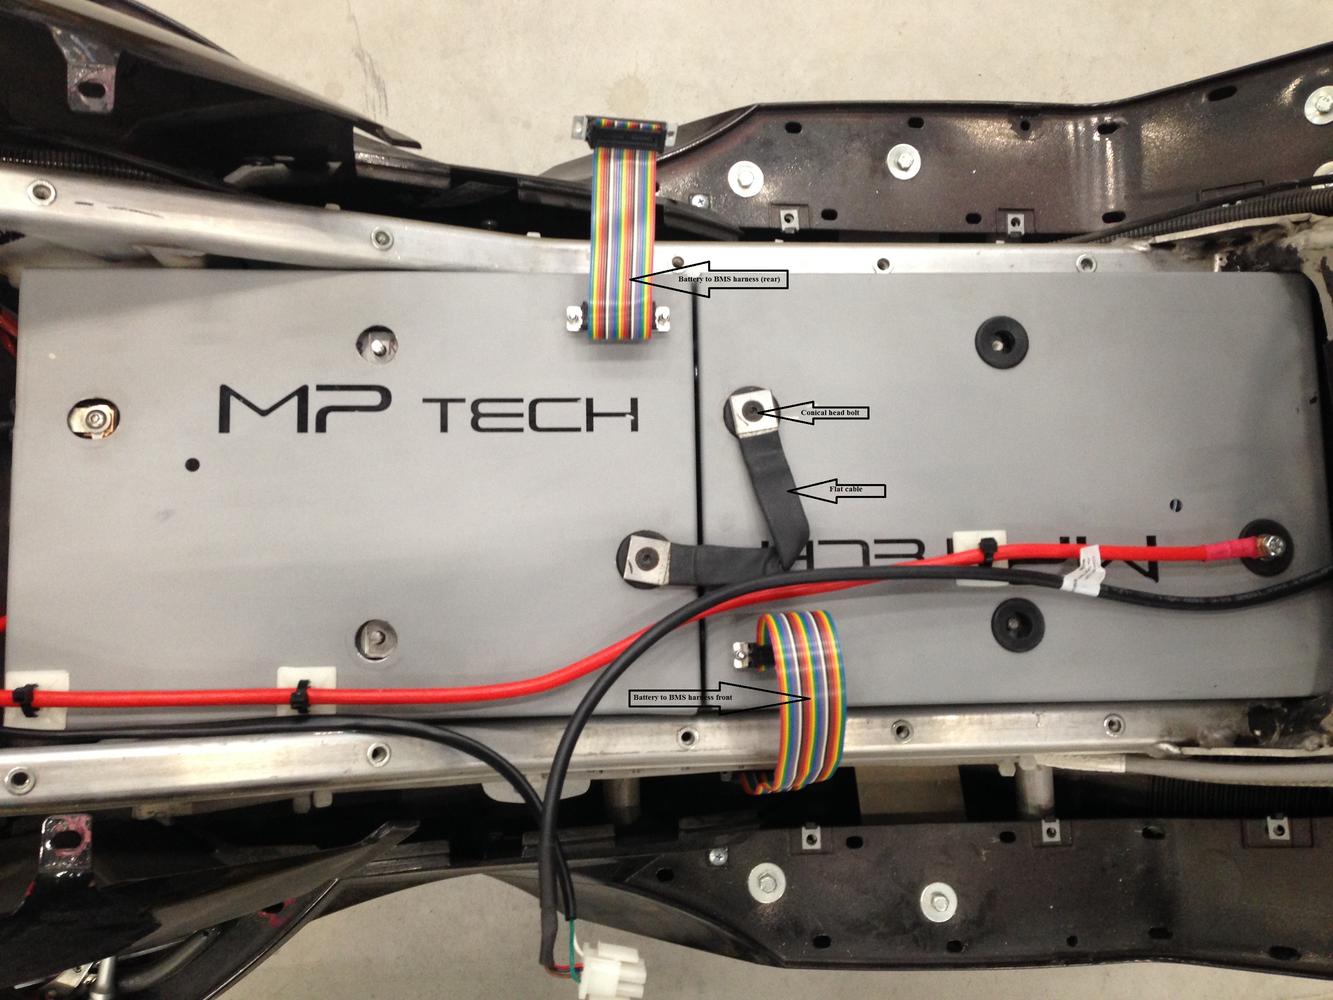
8. Using inrush current limiter (or 110V 35W bulb or 100kOhm 5W resistor) connected between battery positive terminal and positive cable - charge the MC capacitors - before connecting positive cable.
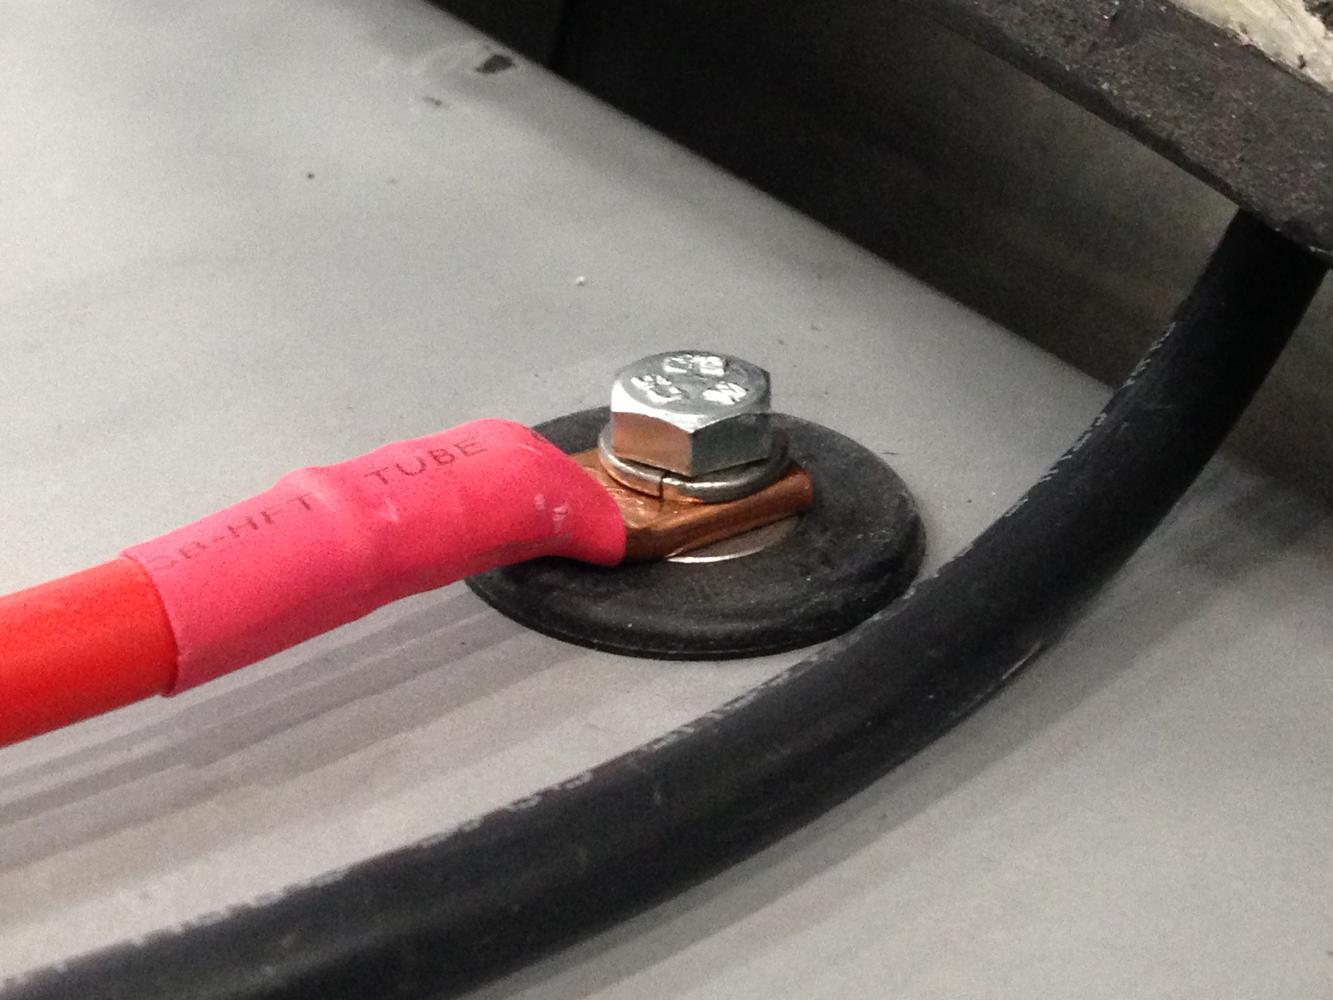
9. With inrush limiter still connected install positive cable. Disconnect inrush limiter. Tie the positive cable using supplied zip tie holders.
10. Place the BMS box on top of rear battery pack. There is a rivet on the lid of rear pack matching a hole in BMS housing to align. BMS box has double side adhesive tape on bottom..
11. Connect the battery to BMS patch and Charger to BMS harness.
Customer support service by UserEcho

Very nice conversion..;)
Thank you :)
Have a great day!
Vectrix Team
To install the TC charger with the new BMS, connect the busCAN to the MotorControler connector. Can they indicate the pinout of the BMS connector? Do you have to connect power too? What is the color code?
Thank you